Part 2: Setting Up the Offer on Warrior Plus
When it comes to offers, there’s something you should know… It doesn’t matter whether you’re selling a single, standalone product or several products in a funnel - you’ll still need to create an offer.
Create Your Offer - Step 1 of 2
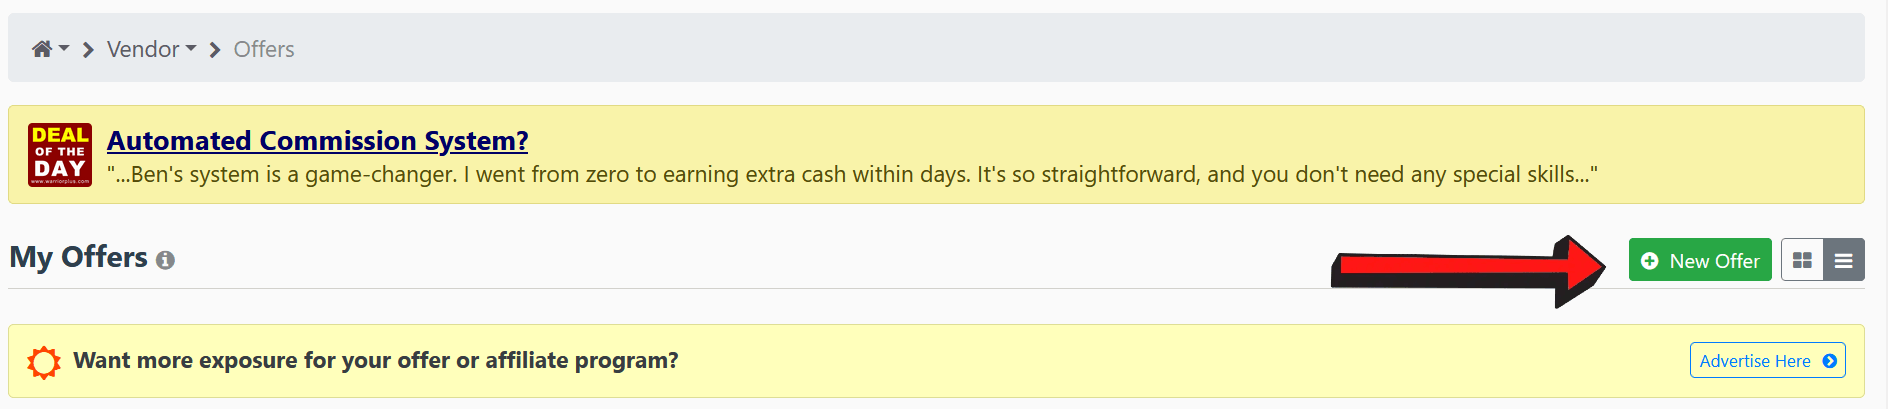
Once you’re on the offer dashboard, click on the green button ‘New offer’…
This is what you’ll see…
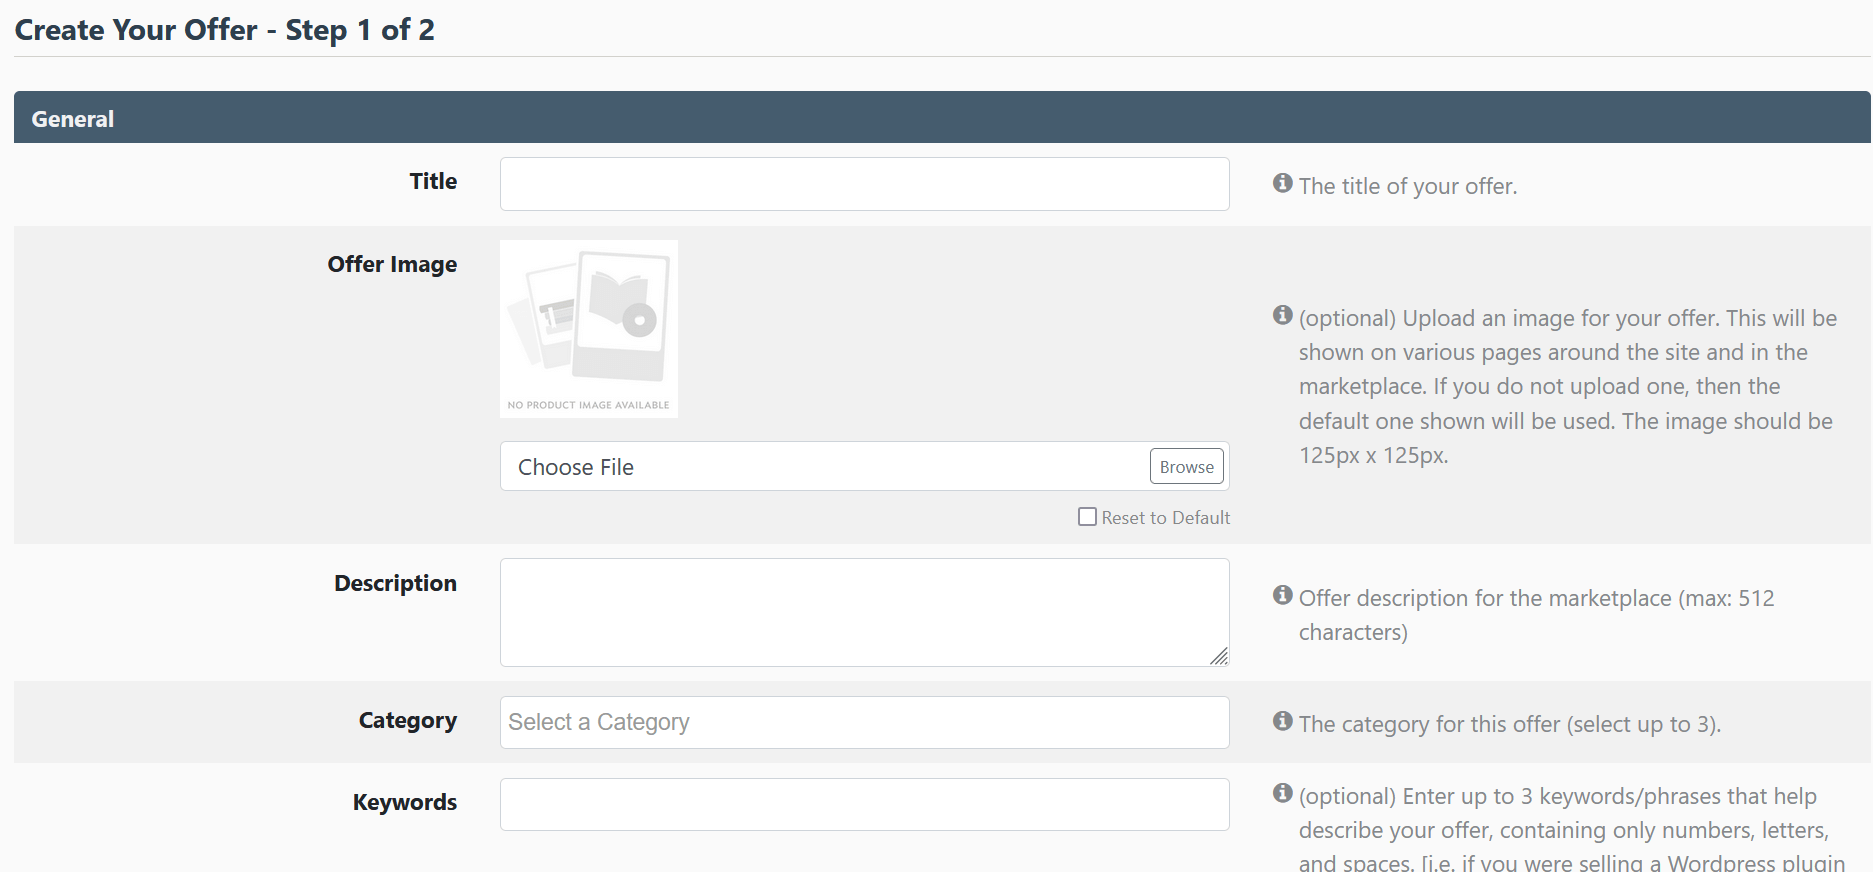
Fill out all the relevant details. Yes, even if you did it earlier in the product’s settings, you’ll still need to do it again here.
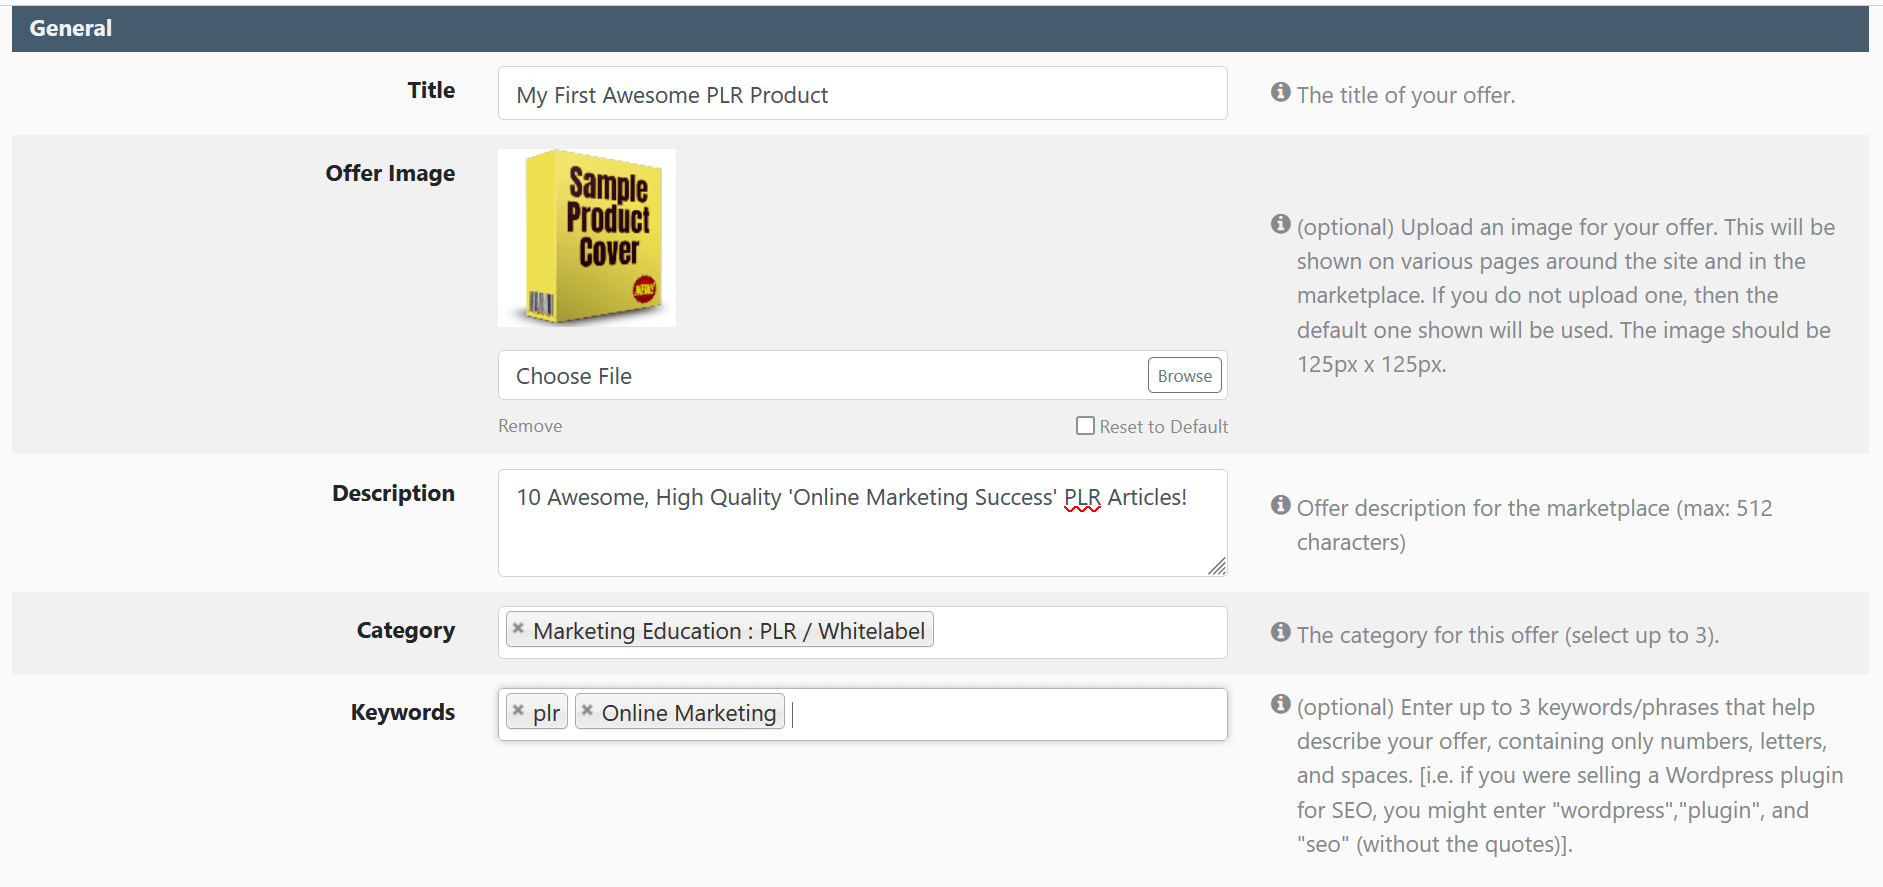
This is what ours looks like now…
Availability
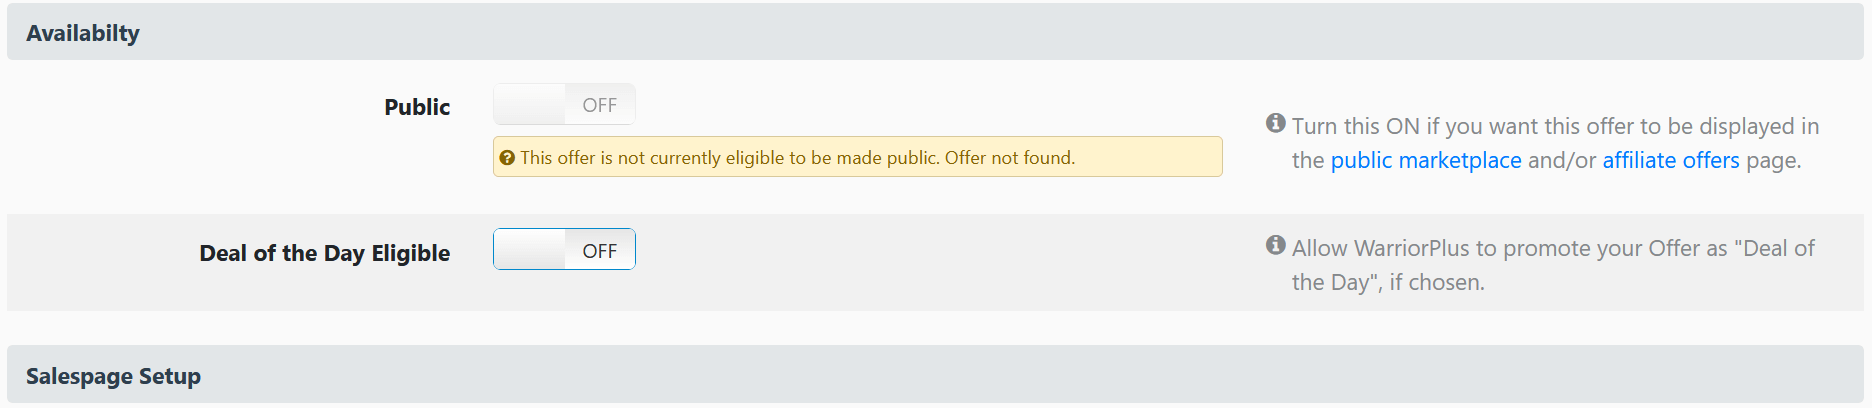
You’ll not be able to set your offer to public yet, because the WarriorPlus compliance team has not approved your offer yet. This will come later.
For now, if you want your product to be eligible for Deal of the Day, turn it on here...

- Salespage Setup
In this section, all you’ll need to do is add the salespage URL to your offer here. If you have a funnel, this is where you add your front-end sales page URL.
We’re not going to cover split testing here. Once you’re familiar and proficient with WarriorPlus, you’ll be able to figure it out on your own.
Similarly, ignore the prelaunch and ad copy sections.
We’re not using ads… and using a prelaunch page to capture emails is best used for launches that have a lot of hype prior to the launch.
If you’re new, most affiliates will only mail their list about your offer on the day it goes live. So a prelaunch page is unnecessary.
Once again, if you insist on having one, you can do it when you’re more familiar with WarriorPlus. For now, let’s just focus on getting your first product ready for sale.
Next, click on the blue ‘Create’ button in the bottom right side of the screen.
Create Your Offer - Step 2 of 2 After you click ‘Create’ you’ll see this page...
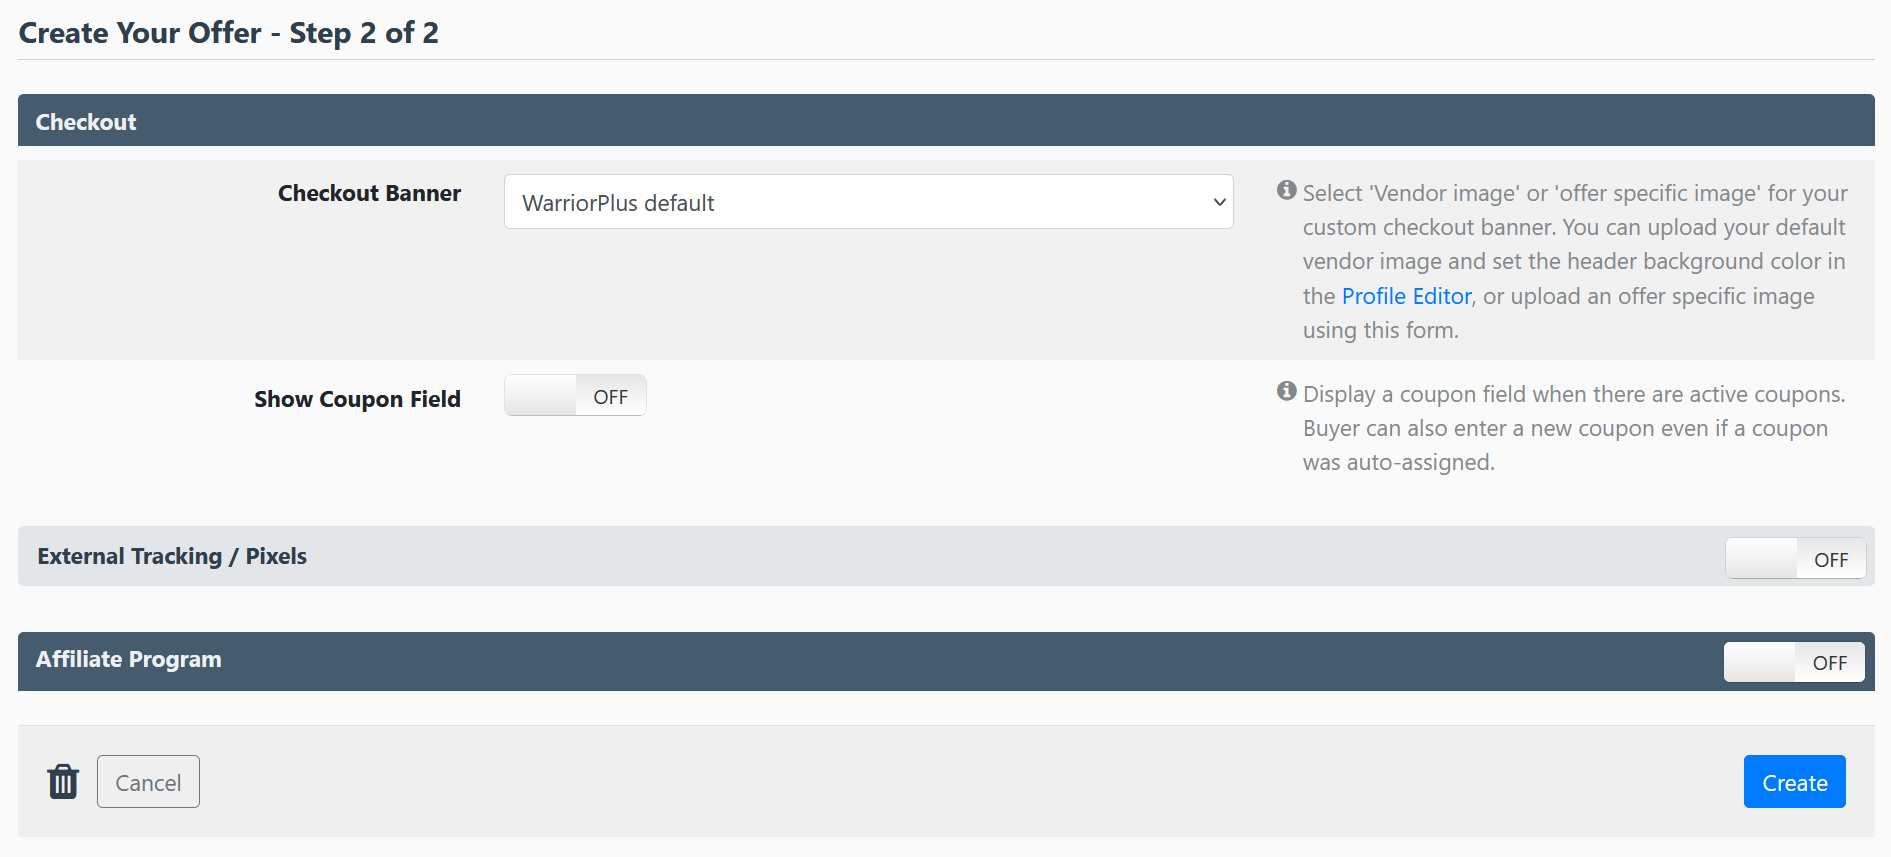
For this tutorial, we’ll not be using a checkout banner or coupons. Since we’re using affiliates, we’ll turn on the ‘Affiliate Program’ … If you’re NOT using affiliates, you can leave it off.
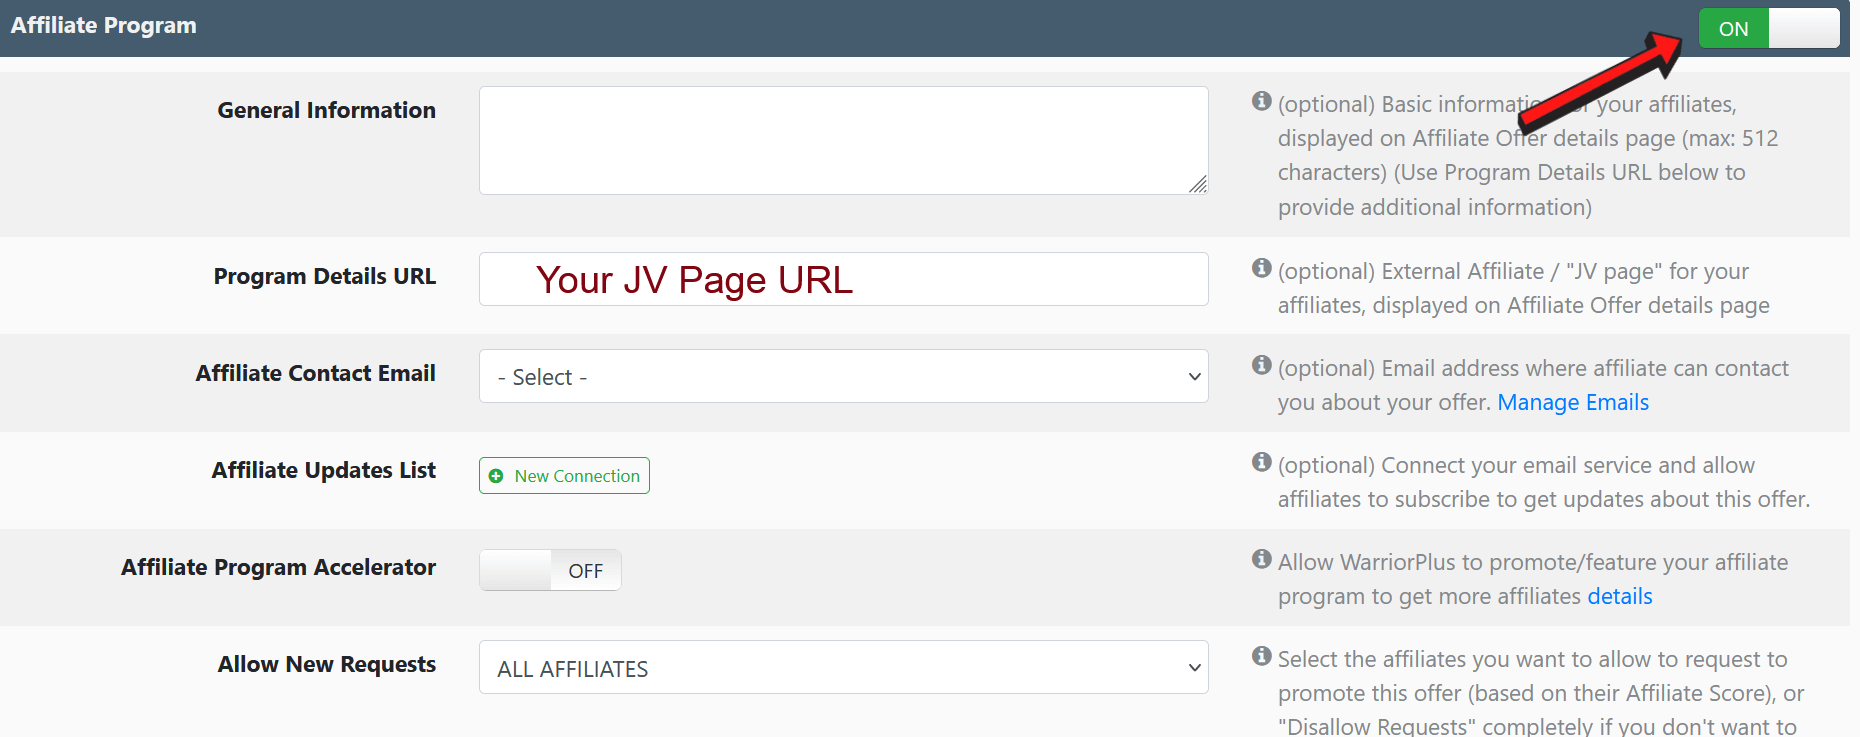
Points to note:
You can add some basic info in the general information field or ignore it altogether.
If you’re recruiting affiliates for a launch, it’s best to create a separate JV page with all the launch details – and add the URL to this page in the program details URL.
Add your contact email in the ‘Affiliate Contact email’ so that affiliates can contact you if they have enquiries.
If you wish to add affiliates to your email list so you can send them launch reminders and updates, connect your email list in the ‘Affiliate Updates List’ tab.
You can ignore the ‘Affiliate Program Accelerator’ option and leave it off.
When it comes to allowing affiliates to request approval, ideally, you’ll want to choose a 50+ score.
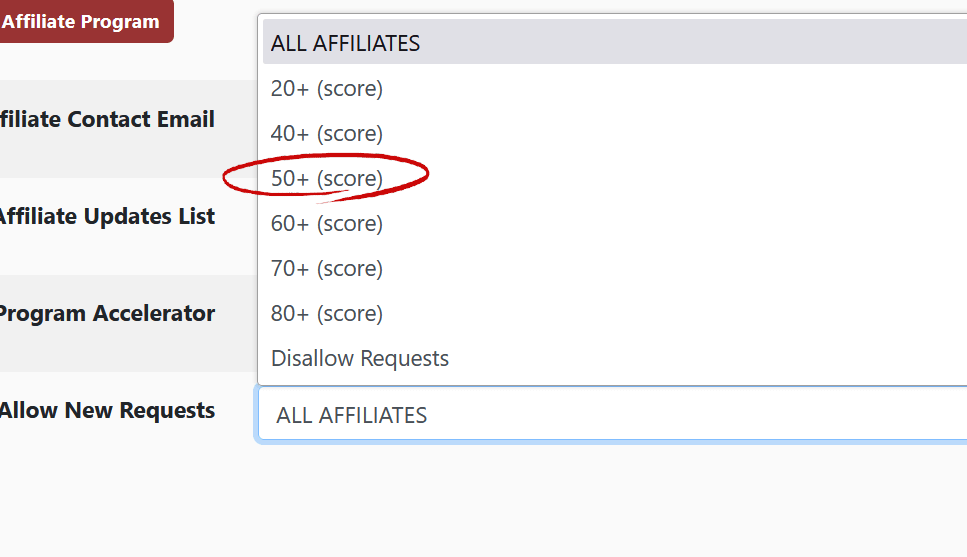
When approving affiliates, always err on the side of caution. Avoid affiliates with a bad track record (excessive refund requests).
Once that’s done, click on ‘Save.’ Congrats! You’ve created your offer… but there’s still more work ahead.